
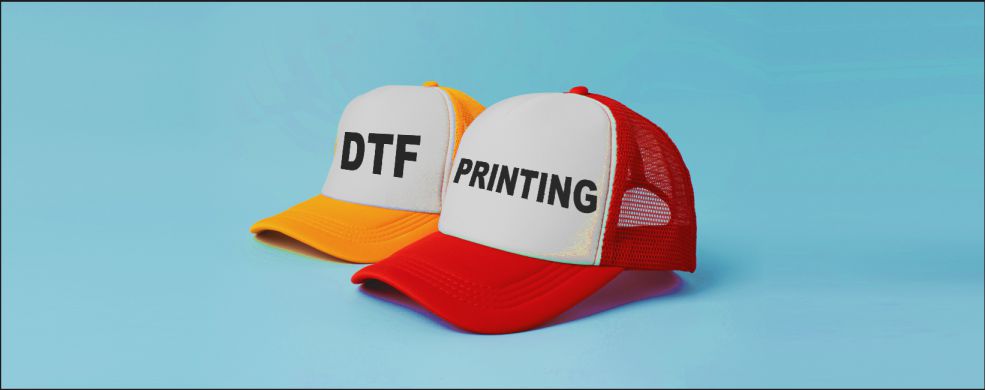
Hat printing has evolved significantly over the years, with newer technologies offering more versatile and high-quality results. One such innovation is DTF (Direct-to-Film) printing, a cutting-edge method that has gained popularity due to its ability to produce vibrant designs on various materials, including hats. If you’re considering using DTF for your next custom hat project, this guide will walk you through the basics, advantages, and step-by-step process of printing on hats with DTF.
What is DTF Printing?
Direct-to-Film (DTF) printing is a relatively new technology that allows for high-quality prints on a wide range of fabrics and materials, including hats. The process involves printing a design onto a special film that uses a printer equipped with DTF technology. After printing, the design is transferred onto the fabric using heat and pressure. Unlike traditional printing methods like screen printing or heat transfer vinyl (HTV), DTF offers more flexibility in terms of design complexity, color vibrancy, and fabric compatibility. The resulting prints are durable, flexible, and capable of producing full-color, photo-quality designs.
Advantages of DTF Printing for Hats
- Vibrant, High-Quality Prints: DTF printing produces bright, vivid colors, even with detailed or multi-colored designs. This makes it perfect for custom hats with logos, text, images, or full-color artworks.
- Versatility Across Fabrics: One of the biggest benefits of DTF printing is its ability to print on various materials. Whether you’re working with cotton, polyester, blends, or even hats made of different fabric types (like wool, mesh, or canvas), DTF can handle it all. This makes it an excellent option for different hat styles.
- No Need for Color-Specific Inks: Unlike screen printing, which requires different screens and inks for each color, DTF can print designs with multiple colors without the need for individual color layers. This saves time and money, making it easier to print complex designs.
- Durability and Flexibility: DTF prints are known for being flexible and long-lasting. They won’t crack, peel, or fade over time, even after repeated washing or wear. This makes it a great option for hats that will be worn frequently.
- Fast Turnaround Time: DTF printing is relatively quick, especially for intricate designs.
Step-by-Step Guide to Printing on Hats with DTF
Now that you know the benefits, let’s walk through the DTF hat printing process:
Step 1: Preparing a Design
- Before printing, an artwork needs to be prepared for the print. Designs need to be in the correct format (such as PNG) and have a high resolution (ideally 300 dpi). The design should be created with the hat’s shape and size in mind, ensuring it fits well on the designated print area. Graphic design software like Adobe Illustrator, Photoshop, or Canva can be used to create or adjust designs. Though, most print shops offer graphic services as well, if help is needed in this area.
Step 2: Printing the Design onto DTF Film
- Once the design is ready, you can place an order with your local print shop to start the printing. The printer will first lay down a layer of color ink for your design. Afterward, it will apply a layer of white ink to ensure the colors appear vibrant and sharp, especially on darker-colored hats. This step is critical for producing high-quality, detailed prints, and the white ink ensures that the colors will not be washed out when transferred to the hat.
Step 3: Applying Adhesive Powder
- After the print is complete, an adhesive powder is applied to the printed film. This step is crucial because the powder helps the ink bond to the fabric during the transfer process.
Step 4: Curing the Adhesive
- Once the powder is applied, the film will be cured to bond the adhesive. This is typically done by passing the film through a curing oven or using a heat press. The heat helps to melt the adhesive powder, ensuring it sticks to the ink and creates a durable and flexible print.
Step 5: Transferring the Design to the Hat
- Now comes the fun part – transferring the design onto the hat! DTF prints are transferred using a heat press, typically with a temperature around 300°F or 150°C and pressure is between a medium to high setting. Once the cured print is correctly positioned on the hat, the transfer is carefully pressed for about 10-15 seconds, depending on the material and the manufacturer’s instructions
Step 6: Peeling and Inspecting
- After the transfer process, the hat is set aside to cool. Once it’s cool enough to handle, the DTF film is carefully peeled off and inspected for imperfections. If the transfer looks good, it is then cured further into the fabric, fortifying the prints adhesion to the hat.
Tips for Successful DTF Printing on Hats
- Choose the Right Hat Material: DTF works best with cotton, polyester, and cotton-polyester blends. While it can be used on a variety of materials, synthetic fabrics like polyester tend to hold the design better.
- Test Prints: Always ask for a test of your design on a sample fabric before starting a large batch to ensure the print quality and look.
- Size and Placement: The size of a print transferred on a hat, should not be edge to edge or placed to where the print cannot be transferred successfully. Please be realistic in your expectations of how large and where your design can be transferred on hat.
Conclusion
DTF printing is a fantastic option for hat customization, offering exceptional print quality, versatility, and durability. It’s an ideal method for printing complex, full-color designs on a wide variety of hat materials. By following the steps outlined in this guide, you can have professional, custom-printed hats that are sure to impress. Whether you need hats for personal use, a business, or an event, DTF gives you the ability to have hats with stunning prints!